Why Concrete Moisture Documentation Matters for Warranties
Flooring warranties are not just about the product; they are about proof. Most manufacturers now want clear moisture test records before they will honor a flooring warranty claim. If the data is missing, sloppy, or not done to ASTM standards, claims teams often push back. That can mean delays, partial approvals, or flat-out denials.
Here in Orange County, we see this a lot. Coastal humidity, long AC use, and the rush to finish projects before the holidays all put extra stress on concrete slabs. Moisture issues often show up after move-in, not during construction. Good news, though: with the right documentation system, you can protect your projects, your schedule, and your flooring warranties long before problems start.
Know the Warranty Rules Before You Test
Before anyone drills a hole or places a test kit, you need to know what the flooring warranty actually asks for. Each manufacturer sets their own testing rules, and they usually spell them out in installation instructions, warranty documents, and technical data sheets.
Common requirements often include using specific ASTM methods (such as F2170 for in-slab RH, F1869 for MVER, and surface pH testing), meeting minimum test counts per square footage, and spacing test locations across the slab. Manufacturers also commonly specify calibration and use rules for testing equipment, along with timeframes between slab placement, testing, and flooring installation.
You also want to connect every test back to the exact products used. That means documenting the flooring product names and types, adhesive products, underlayments and patching materials, and any vapor barrier or mitigation system details. When the test data clearly ties to a specific flooring system, claims reviewers have a much easier time saying yes. Independent third-party documentation adds even more weight, because there is less conflict of interest when there is a moisture dispute later on.
How to Build Bulletproof Test Data Logs
A strong data log is your best friend during a warranty claim. It should show that each test was done the right way, at the right time, with the right tools. At a minimum, every entry should list:
- Project name and full address
- Area of slab, like Level 2 East Corridor or Lobby North
- Test ID number
- Date and time of each reading
- Test method, such as RH, MVER, or pH
- Instrument model and serial number
You also want to record the site conditions at the time of testing. Especially in late summer and fall here in Orange County, outdoor humidity and indoor AC use can change readings. In practice, that means capturing ambient temperature and relative humidity, noting HVAC status (such as AC running, building closed, temporary systems in use), recording recent weather trends (like several humid days or fast drying conditions), and calling out any unusual site activity such as wet cleaning or water from other trades.
For in-slab RH, link each reading to the exact probe location and depth. For MVER, link results to each calcium chloride kit ID. Every flooring zone on the plan should connect back to specific, traceable tests. Digital or cloud-based logs work especially well because timestamped entries and tracked changes show when and how data was added, and later, when you export to a report, everything lines up cleanly for warranty review.
Mapping Test Locations so Reviewers Can Trust the Results
Even perfect numbers are weak if no one knows where they came from on the slab. Claims teams want to see that you tested across the real flooring footprint, not just in easy or dry spots. High-risk areas need special attention, such as:
- Entries and exterior doors
- Slab edges and perimeter walls
- Areas below large windows or sliding doors
- Spaces near plumbing rooms or wet areas
Practical ways to document locations include:
- Scaled floor plans with numbered test points
- Simple grid overlays on large open areas
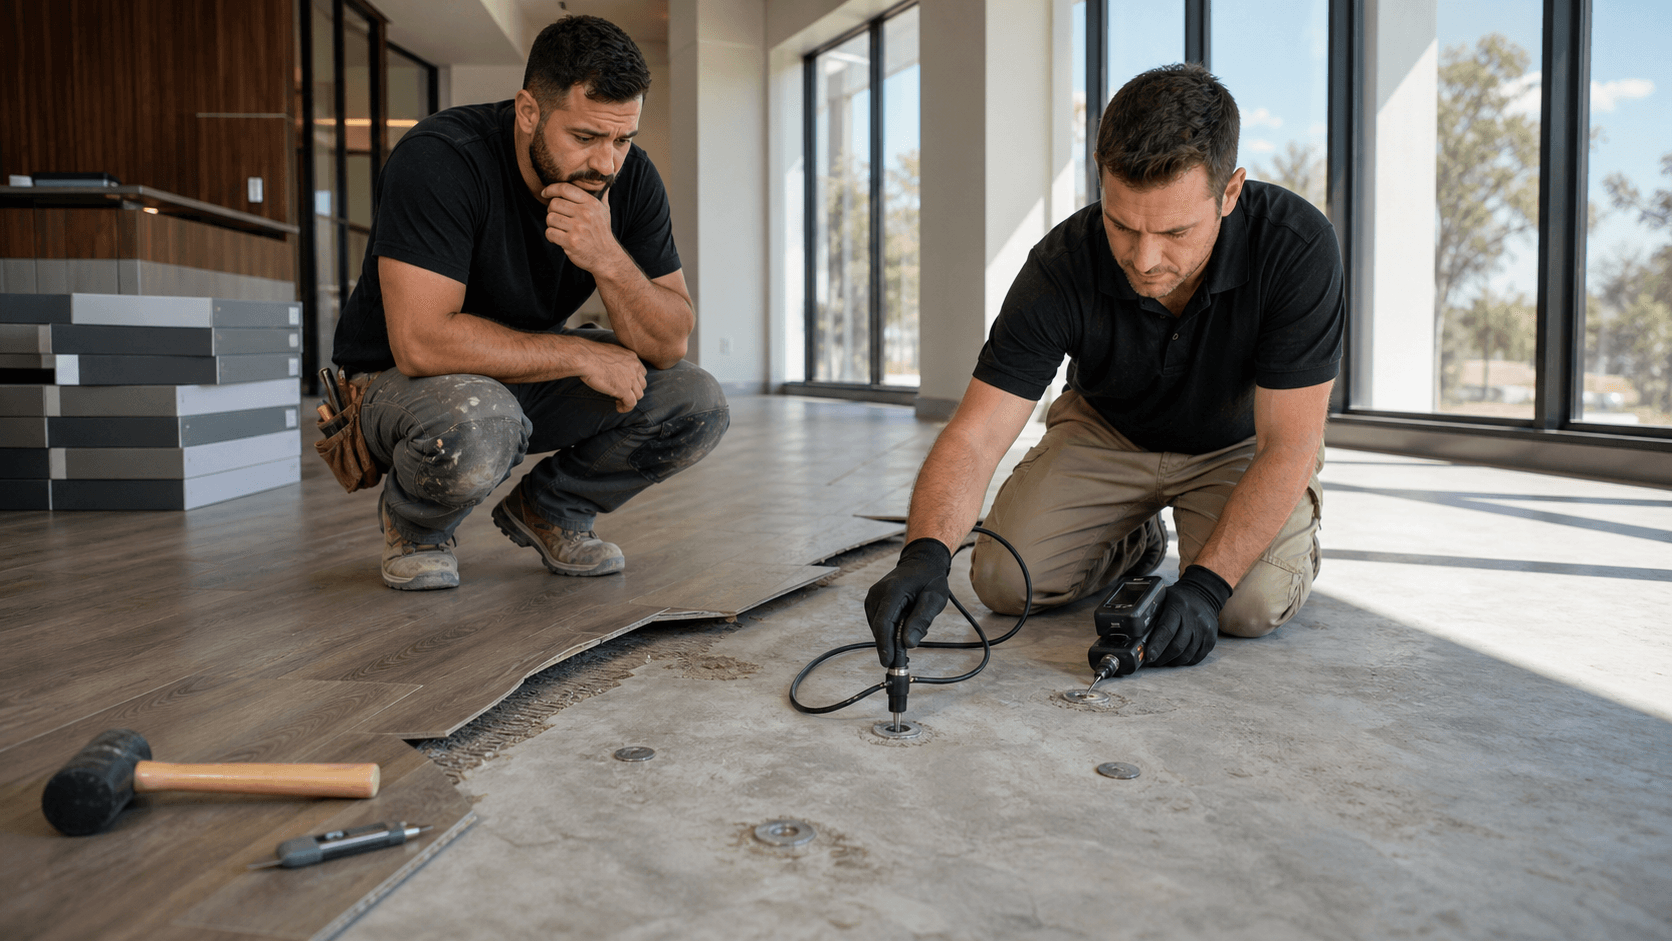
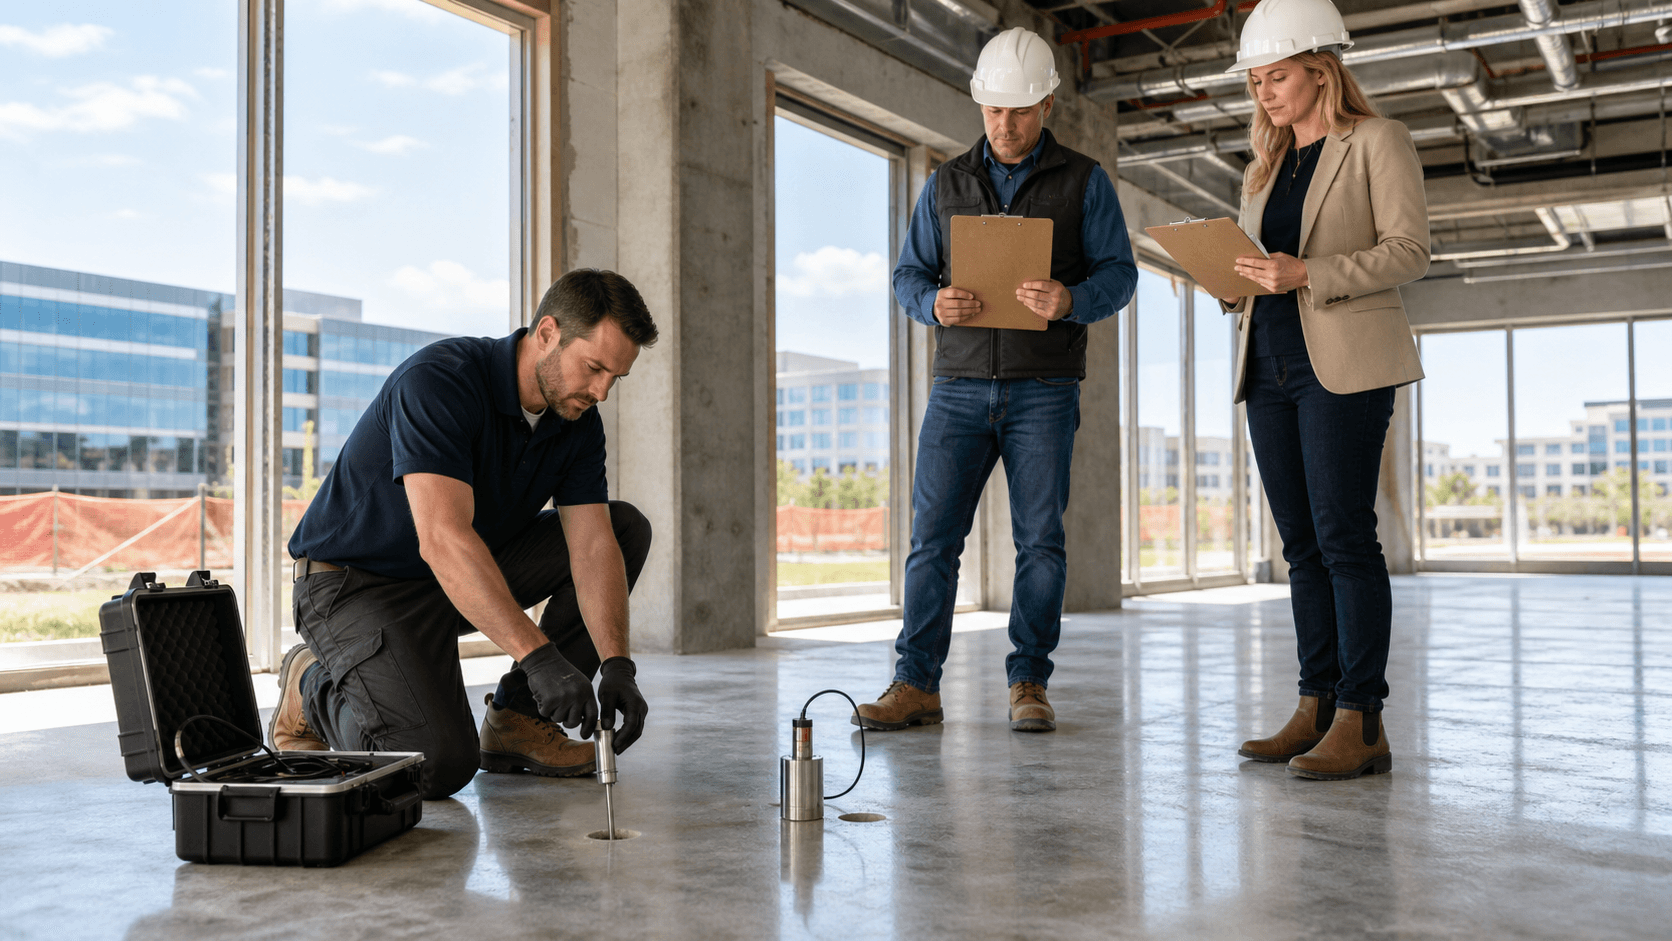
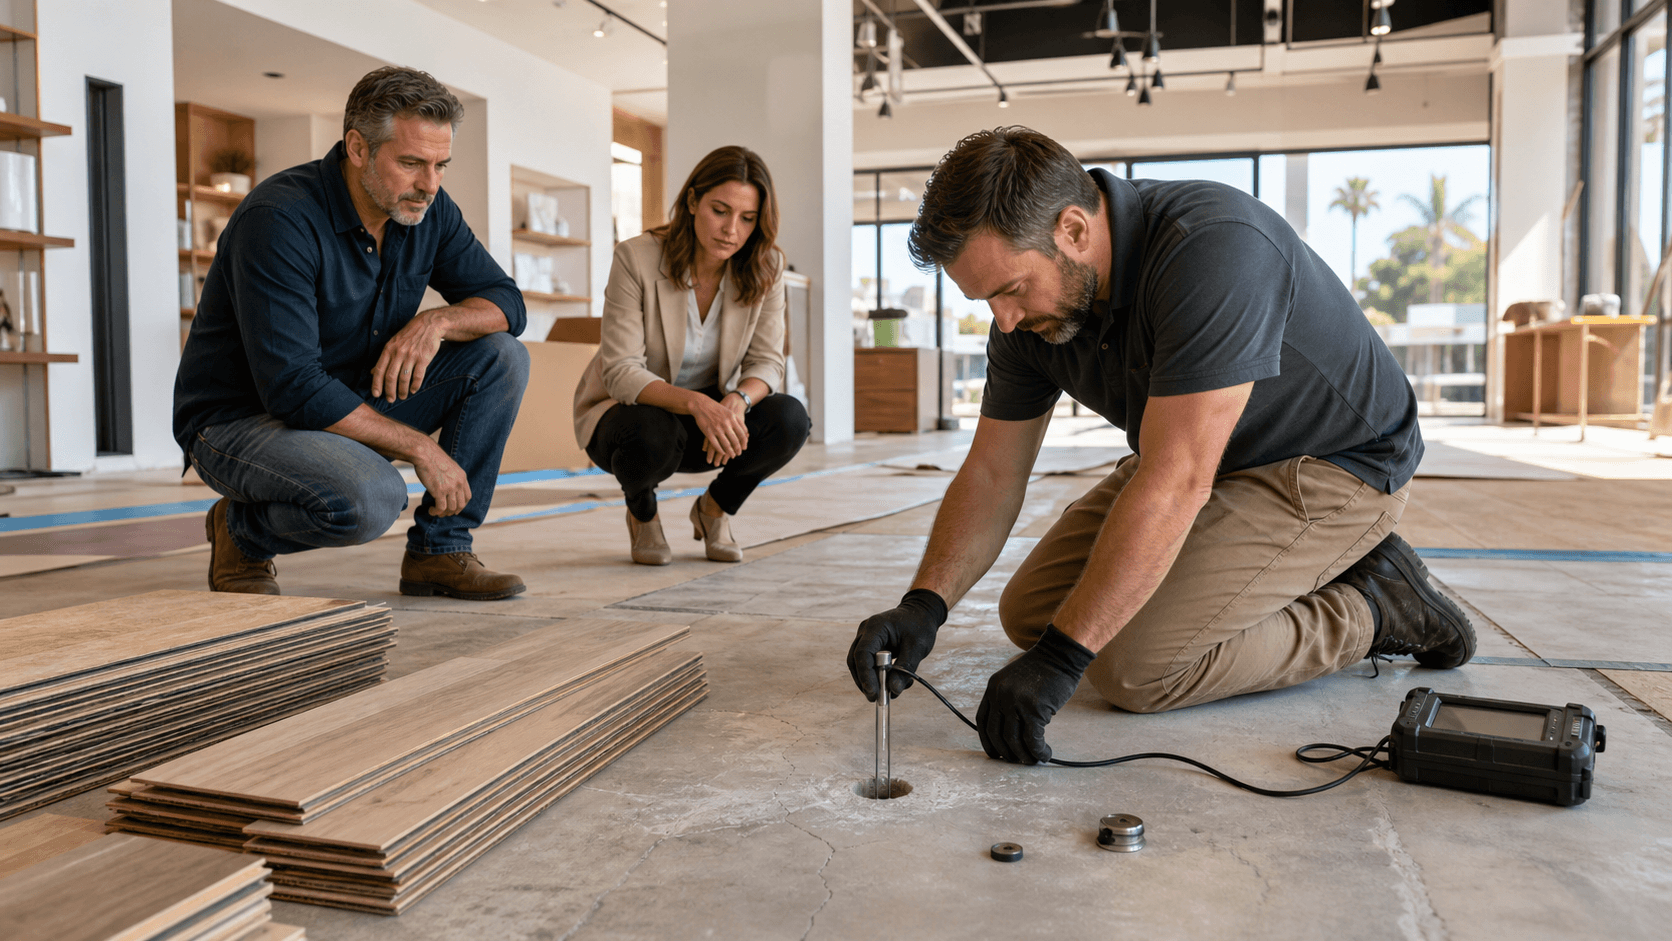
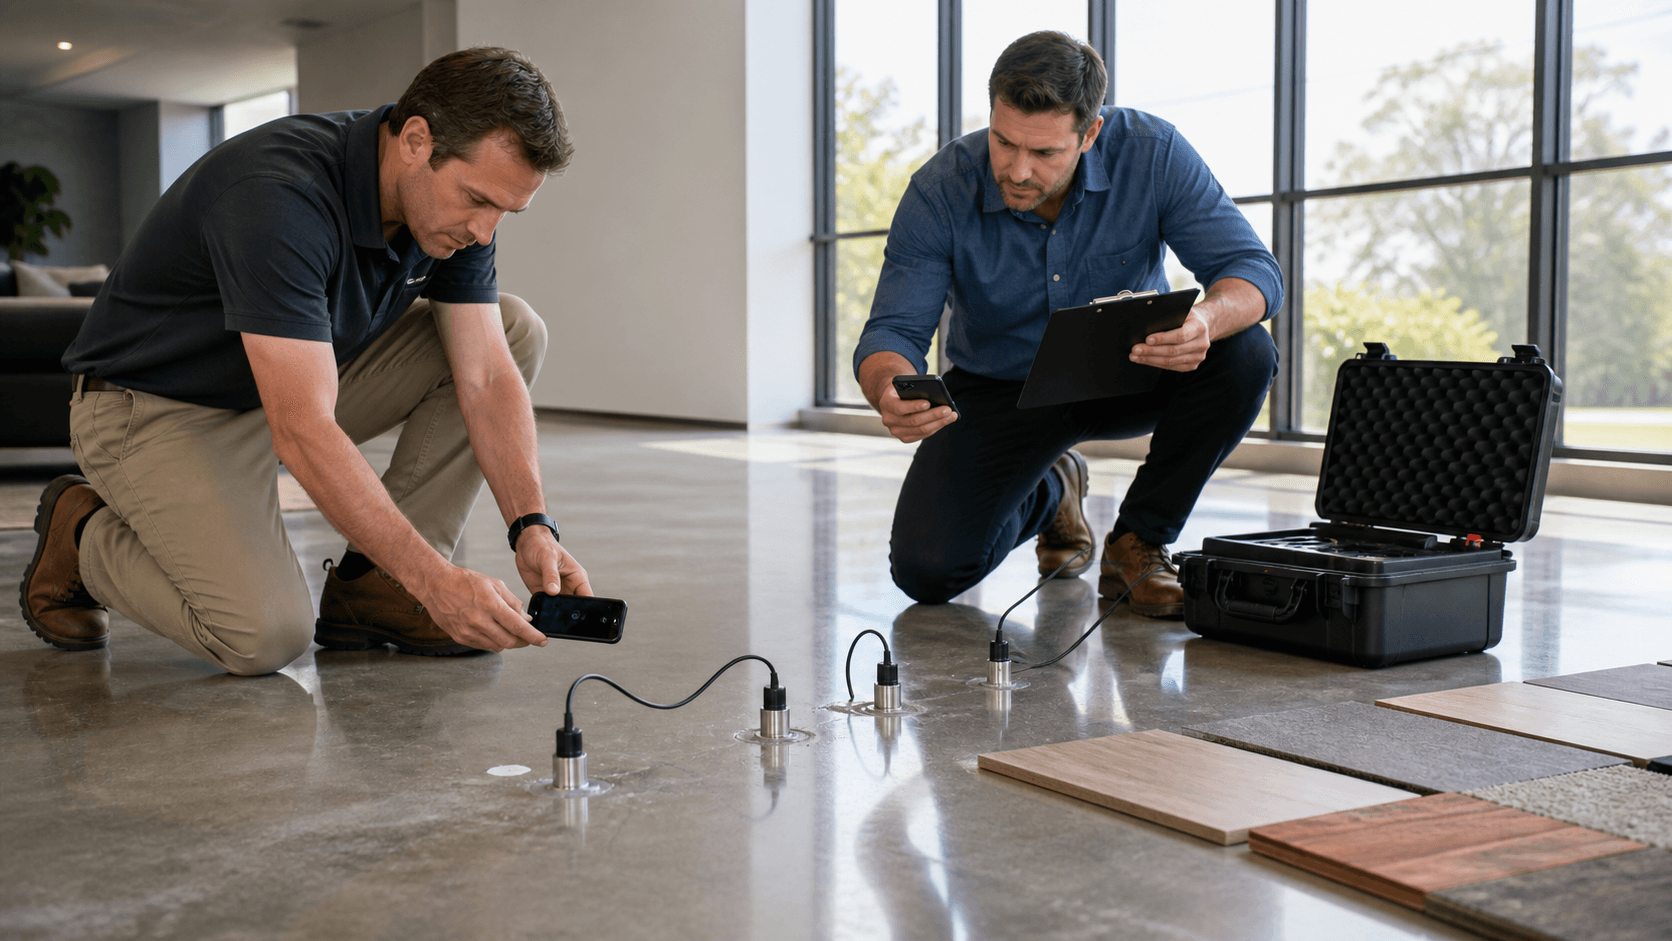
- Photos showing probes or kits in place, with walls or columns visible
The secret is consistency. The number on the plan should match the number in your data log, which should match the number under each photo and in the final report. When a claims reviewer can follow the trail without guessing, you are in good shape.
For multi-level or multi-phase projects, build a clear system from the start. Using prefixes for floors and phases, like L1-101 for Level 1, point 101, keeps numbering stable and understandable even when schedules shift or change orders pop up.
Chain of Custody and Calibration That Hold up in a Dispute
Chain of custody is about showing who did the tests, how equipment was handled, and how results were passed along. When moisture readings are later questioned, this record can make or break the argument. A simple chain of custody form might include:
- Tester name and company
- Any relevant training or certifications
- Date and time each test was performed
- Notes on who handled gauges, probes, or kits
- Sign-offs from parties who received the final results
Calibration is just as important. Claims reviewers want to know that your gauges and meters were working correctly. Keep:
- Calibration certificates for each device
- Records of field verification checks
- Notes on any adjustments made before or during the project
When there is a conflict between your readings and someone else's, clear chain-of-custody and calibration records show that your data is reliable. They can also help months or even years later, when memories fade but documents do not.
Assembling Clear, Defensible Moisture Testing Reports
Once your data, maps, and records are ready, you need a report that pulls everything together in a clear and simple way. A strong report template usually includes:
- Cover page with project details and parties involved
- Project overview and scope of testing
- Test methods with ASTM references
- Instruments used, including models and serial numbers
- Test location maps or plans
- Data tables with all readings
- Photos of test locations and setups
- Analysis and recommendations
Use terms that match ASTM standards and the flooring manufacturer. For example, percent RH, pounds per 1,000 square feet per 24 hours, and pH range. This cuts down on confusion or mixed units that can slow a claim.
A basic timeline also helps a lot because it quickly shows whether testing and installation sequencing aligned with the project conditions and manufacturer expectations. Include:
- Slab pour dates
- Moisture test dates
- HVAC start-up date for the building
- Planned or actual flooring installation window
At the end, include a clear summary page that spells out whether readings meet the manufacturer limits for the specific flooring products and adhesives on this project. If levels are high, list practical mitigation steps that should be taken before installation so the warranty stays in play.
Putting Your Documentation System in Place Before the Next Slab
The best time to fix documentation is before the next project ramps up, not in the middle of a warranty fight. Set standard data logs, location mapping rules, chain-of-custody forms, and report templates now, and share them with the project team so everyone knows the plan before concrete work and fall installations stack up.
Working with an independent testing specialist can help you fine-tune these systems to match ASTM methods and the specific flooring warranties you rely on. Many project teams find it helpful to audit one recent or upcoming job and compare their current records with the checklist here. Gaps that seem small today often turn into big headaches when flooring claims come up later.
By treating flooring warranty moisture testing documentation as part of your quality control, you protect your schedule, your budget, and your client relationships. Careful records, clear maps, and solid reports give you something powerful when problems appear later: proof.
Protect Your New Floors With Proven Moisture Testing
Before you install or replace flooring, schedule our flooring warranty moisture testing so you have clear, documented proof your concrete is within manufacturer limits. At Concrete Moisture Testing Orange County, we provide detailed reports that help protect your flooring investment and support warranty claims. If you are ready to move forward or need pricing, contact us so we can get your project on the schedule.