Stop Flooring Failures Before They Start
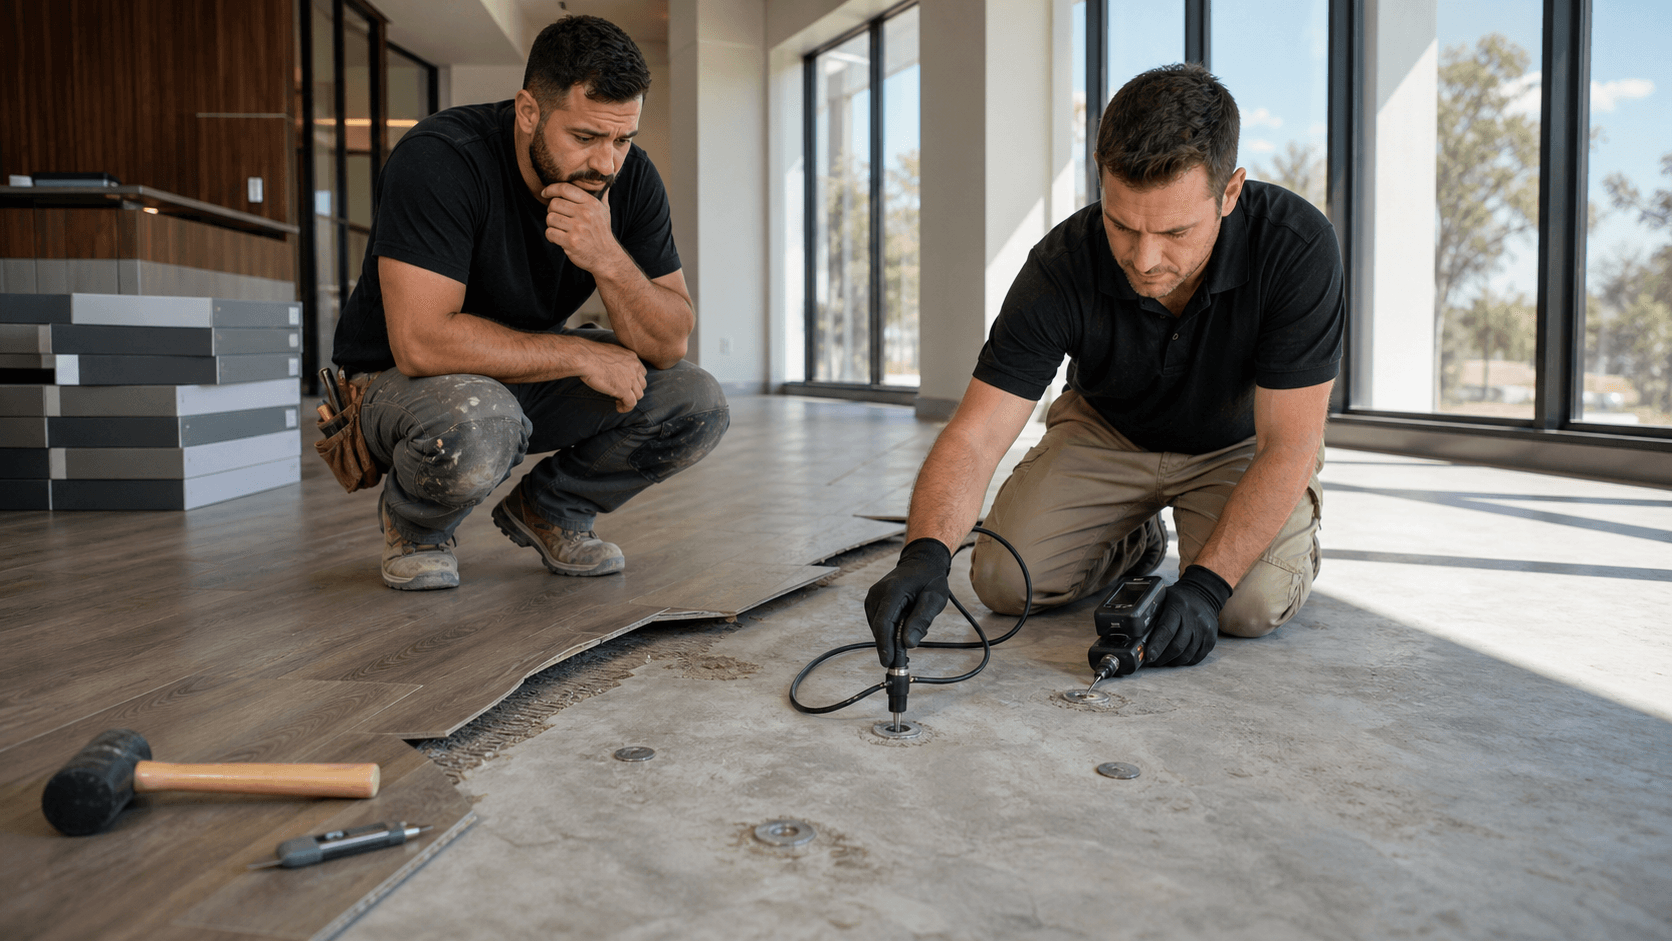
Pre-flooring moisture testing in Orange County is one of those things that does not seem urgent until something goes wrong. A project looks great, the flooring is in, the space is cleaned, and everyone is ready for move-in. Then bubbles show up in the vinyl, planks start cupping, or carpet tiles let go at the seams. The floor is new, the work looked fine, but now people are pointing fingers and the schedule is blown.
Most of these flooring failures trace back to moisture in the concrete and to testing that was skipped, rushed, or done the wrong way. When tests are done early and in line with ASTM standards, many of these headaches never happen. Our goal here is to give contractors a clear, field-ready checklist that keeps adhesives from failing, schedules from slipping, and warranties from being denied, with a special focus on how Orange County's summer and fall conditions affect your slabs.
Why Moisture Wrecks Great Floors and Tight Schedules
Concrete always has moisture inside it. That moisture moves as vapor up through the slab. When it reaches the surface and meets flooring adhesives, it can cause trouble. We care about three things in that slab: how much vapor wants to come out, the internal relative humidity (RH), and the pH level right at the top of the concrete.
Here is what can go wrong when those are out of range for the flooring system you plan to install:
- Bond loss where adhesive turns soft or powdery and flooring lets go
- Bubbling and blistering under sheet goods or LVP that looked perfect on day one
- Cupping and warping in hardwood and engineered wood
- Curling or raised corners in carpet tile and rubber products
- Stains or discoloration where high pH attacks finishes or backing
On the schedule side, moisture problems are not just about looks. They show up as:
- Tear-out and re-install work in finished, occupied areas
- Manufacturer inspections and back-and-forth blame between trades
- Insurance and warranty disputes that stall payment and final sign-off
- Delayed move-ins for tenants, staff, or homeowners
A bit of time spent on proper testing up front often prevents weeks of backtracking later.
Key Risks for Summer and Fall Projects in Orange County
Orange County has its own patterns that affect drying. In late summer and early fall, we get a mix of hot sun, coastal humidity, and marine layer. The slab surface can feel dry and look light in color, while deeper in the concrete the RH is still higher than your flooring system allows.
Some of the biggest local risk factors include:
- Fast-track tenant improvements with tight turnover dates
- High-end homes that must close on time for buyers and lenders
- Subterranean or podium slabs over parking where moisture can linger
- Buildings where full HVAC is not running yet, so conditions are not close to in-service
Late summer and early fall are also peak times for school work, office turnovers, and retail refreshes. That often means tight install windows and pressure to move ahead based on a "looks dry, feels dry" test. This is exactly when accurate, ASTM-compliant pre-flooring moisture testing in Orange County matters most.
Contractor Checklist for Pre-Flooring Moisture Testing
To keep projects on track, moisture testing needs a clear place in the plan, not a last-minute scramble. Here is a practical checklist you can use on your next job.
Planning and scheduling
Start by treating testing as its own task, with dates and space on the schedule:
- Block out time for testing several days before flooring crews are set to mobilize
- Confirm concrete placement dates and mix design so you have realistic expectations about drying
- Find out what curing compounds, sealers, or surface treatments were used on the slab
- Coordinate early with the flooring installer and general contractor so everyone agrees on test types and pass/fail limits
Spec and documentation review
Before the first hole is drilled or test kit is opened, make sure the paperwork matches reality:
- Read the flooring manufacturer's written installation instructions for required test methods like ASTM F2170 for RH, F1869 if needed, and pH tests
- Check project specs for any special directions about test locations, spacing, or use of independent testing
- Confirm that everyone understands warranties often depend on having proper test reports stored and ready to show later
Site readiness before testing
Accurate tests depend on the space being close to real-life conditions:
- Make sure the building is enclosed and that permanent or temporary HVAC is running to mimic service conditions as closely as possible
- Check that slab areas where tests will go are clean, uncovered, and free of coatings that could block or change readings
- Coordinate with other wet trades like patching, self-leveling, or skim coats so they do not go down before testing or confuse results
When these pieces line up, the testing day is smoother and the data you get is worth trusting.
How to Read RH and pH Results Without Guesswork
Once tests are done, the numbers need to be clear enough that you can make good decisions without a guessing contest on the jobsite.
Understanding RH tests
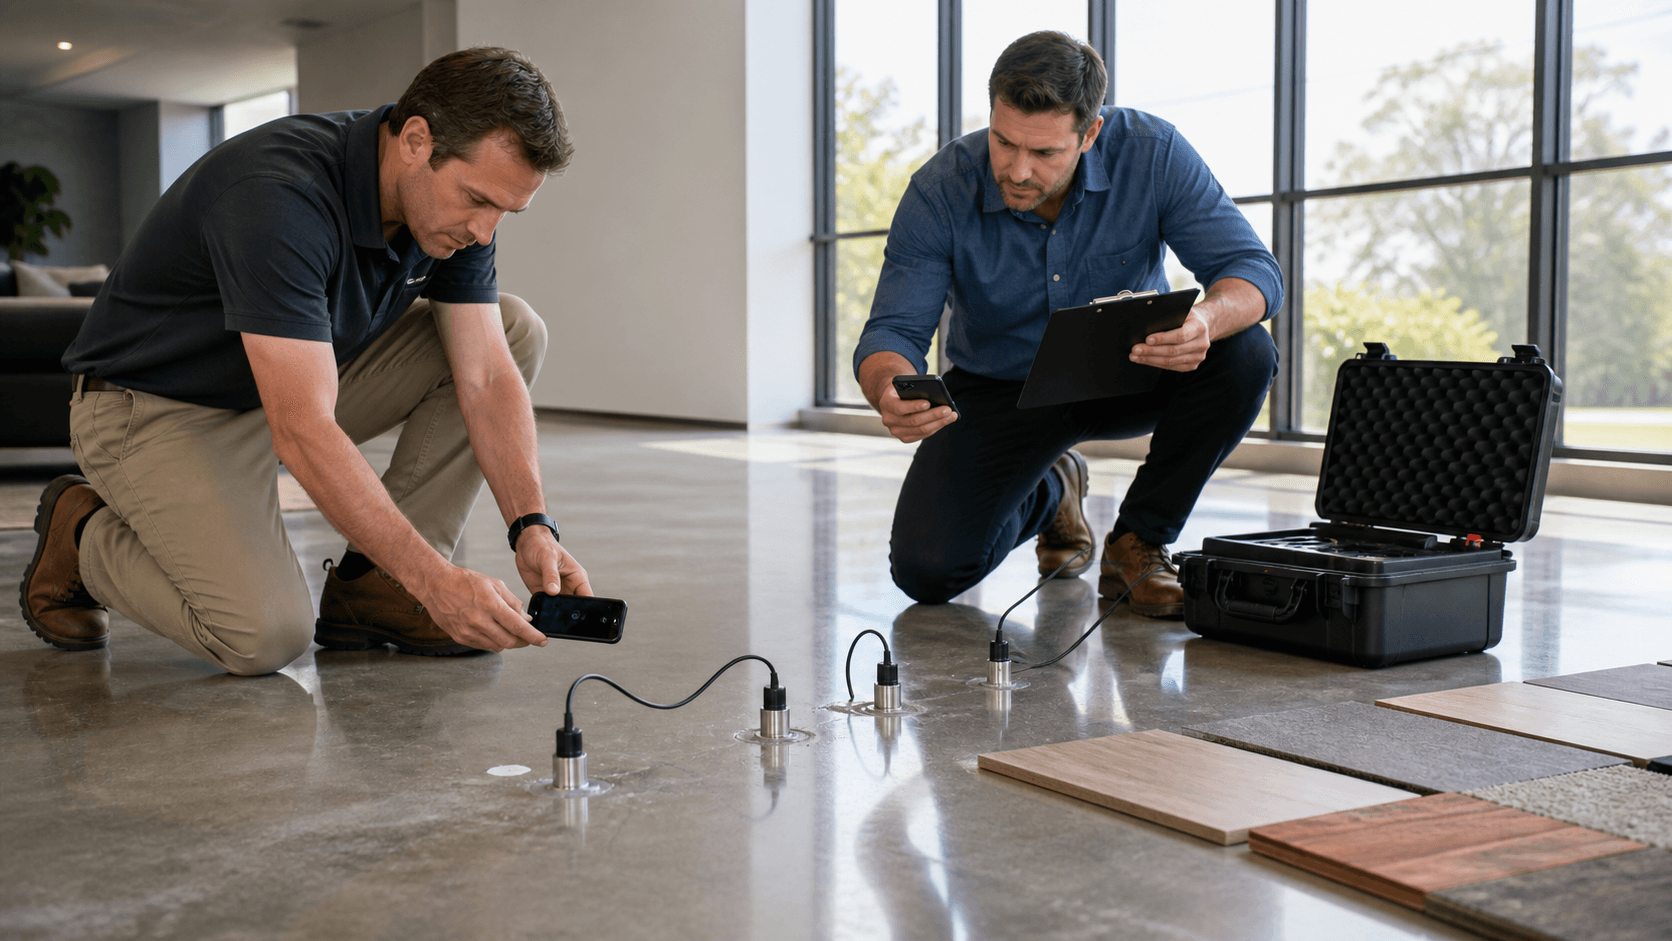
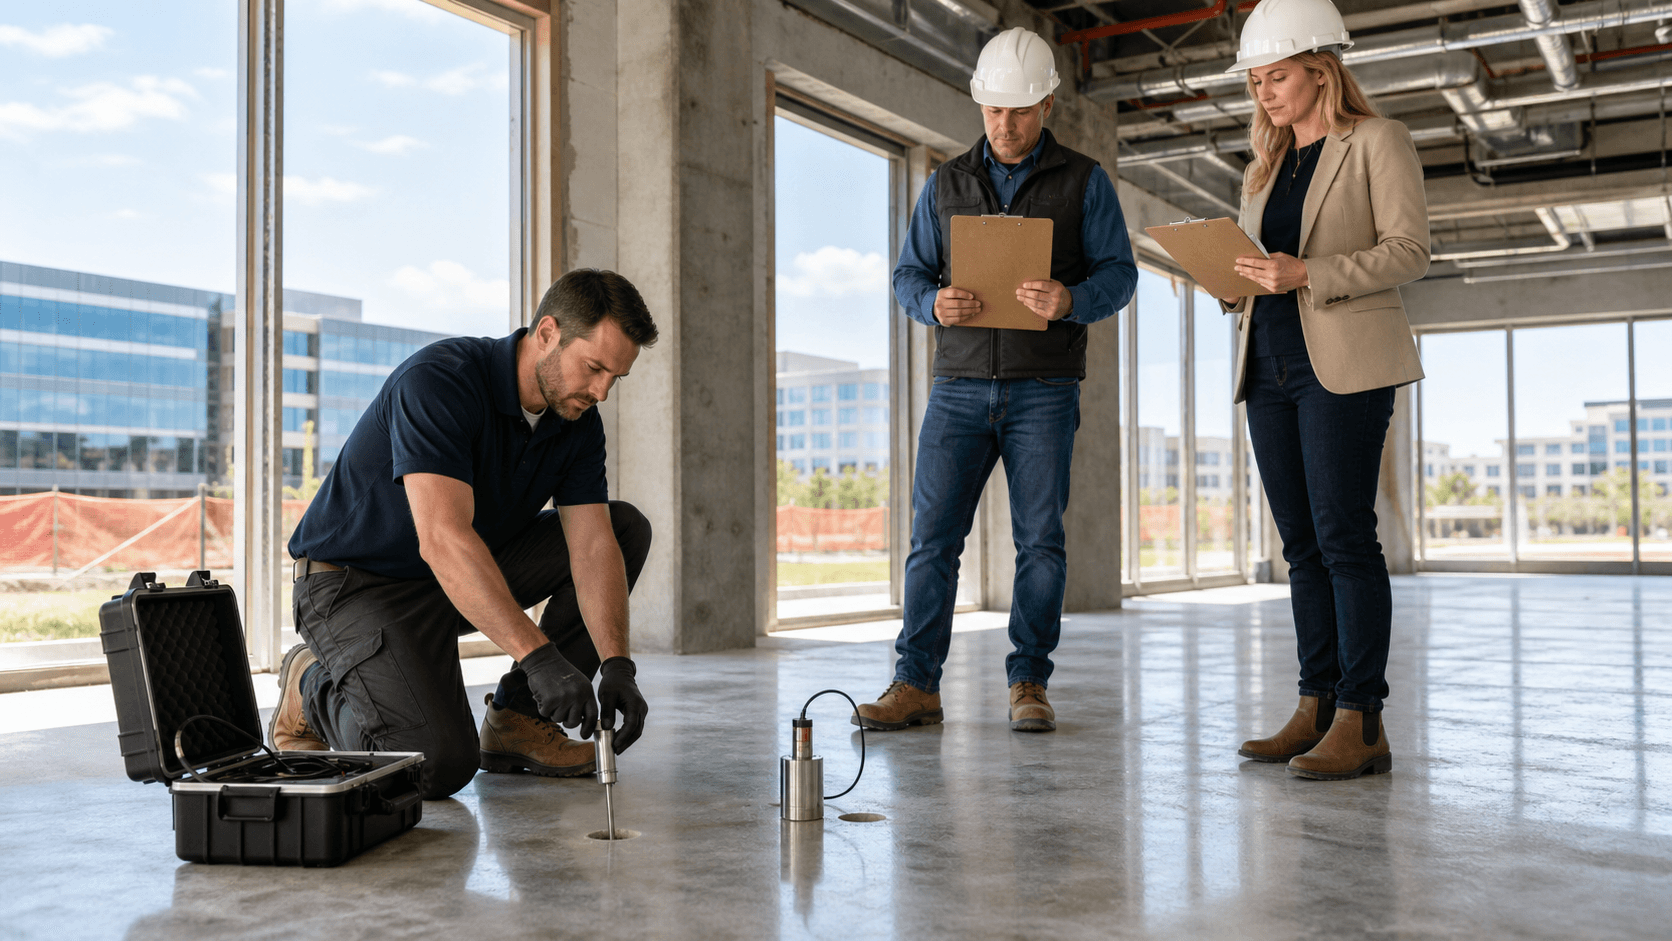
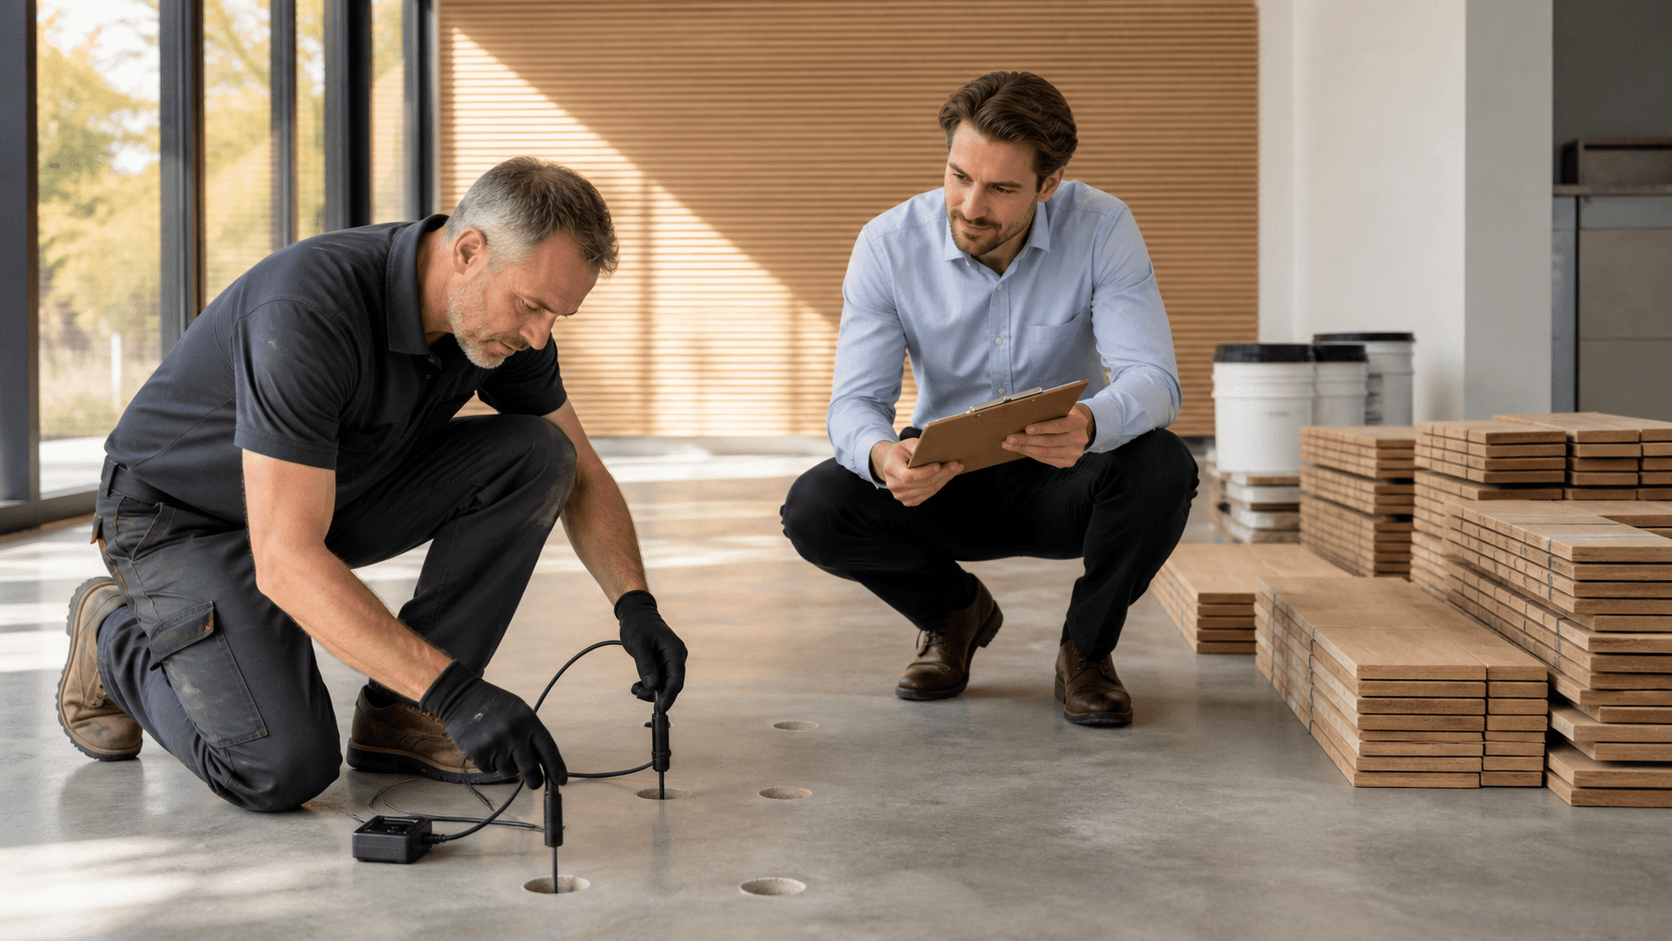
In-slab RH testing, commonly done under ASTM F2170, measures the moisture condition inside the concrete, not just at the surface. Since most modern flooring adhesives and coverings are affected by the deeper moisture, RH is usually the key number that matters.
Typical RH thresholds vary by flooring system. Some products allow higher numbers than others, but in general:
- Each manufacturer lists a maximum RH they will accept
- Being even a few points over that limit can put the warranty at risk
- Different areas in the same slab can have different RH, so test spacing is important
Interpreting pH and alkalinity
Even if RH is fine, pH can still cause failure. High pH means the surface is very alkaline. That can break down adhesive, damage backing, and affect some finishes.
In simple terms:
- Most flooring systems want the slab surface in a certain pH range
- If pH is high over large areas, you may need mitigation or different prep
- If only a few spots are high, those areas may need special attention before install
Making data-driven decisions
With RH and pH reports in hand, you can decide if the slab is ready, needs more time, or needs help:
- If all tests fall within the manufacturer's limits, you can move forward with more confidence
- If some readings are close to the limit, it may be wise to allow extra drying time and retest
- If results are clearly above limits, talk with your team about moisture mitigation options such as vapor control systems
Keep all test documentation organized and tied to specific areas of the project. If a problem shows up later, these reports help show that you followed the right steps at the right time.
Why Independent Testing Protects Your Reputation
When a floor fails, everyone on the project feels the impact. One way to lower the risk of conflict is to use independent, ASTM-compliant testing instead of relying only on data from the flooring installer or a product rep whose main goal is often to get the material down.
Independent testing helps by:
- Giving owners, GCs, and flooring subs neutral data they can all trust
- Making it easier to sort out responsibility if something goes wrong later
- Showing that you, as the contractor, took reasonable steps to protect the project
Working with a local specialist in pre-flooring moisture testing in Orange County also brings local knowledge to your team. A tester who works in the area understands common slab designs, podium and subterranean conditions, and typical local build schedules. They stay current with ASTM standards and know how to document results in a way that holds up to manufacturer review.
For contractors, accurate, independent reports act like insurance. They can support a warranty claim or protect you from being blamed for a failure that started with design, materials, or use of the space, not your work. Compared with tearing out finished flooring in a busy office, school, or luxury home, professional testing is a small step that keeps your name and your schedule in good shape.
Get Started With Your Project Today
Protect your flooring investment by scheduling professional pre-flooring moisture testing in Orange County before installation begins. At Concrete Moisture Testing Orange County, we provide clear, accurate reports so you can move forward with confidence and avoid costly failures. If you are ready to discuss your project timeline or request a quote, please contact us today.